Part1f: RaspberryPi camera test with raspistill command
Now that we can connect to our RaspberryPi over a wifi network, lets test if the camera module is installed properly by taking a few test pictures. We did the hardware setup for the camera module in a previous setup post part1b.
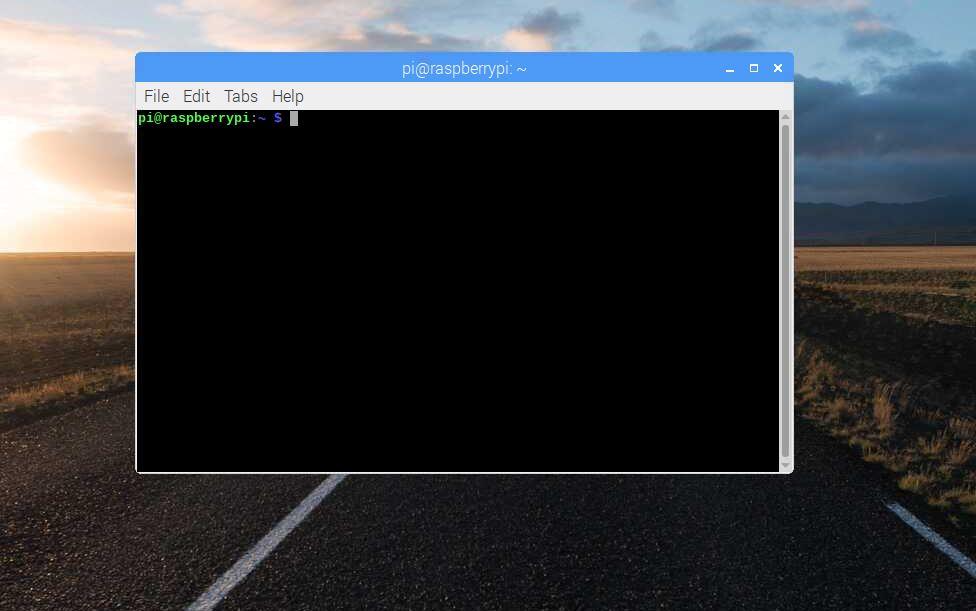
Log into RaspberryPi over the network using VNC viewer as described in post part1e and click on “Terminal” (the small black icon in upper left corner).
In layman terms terminal is a command line interface for issuing commands to RaspberryPi.
Your terminal prompt once you click on it should look like this by default:
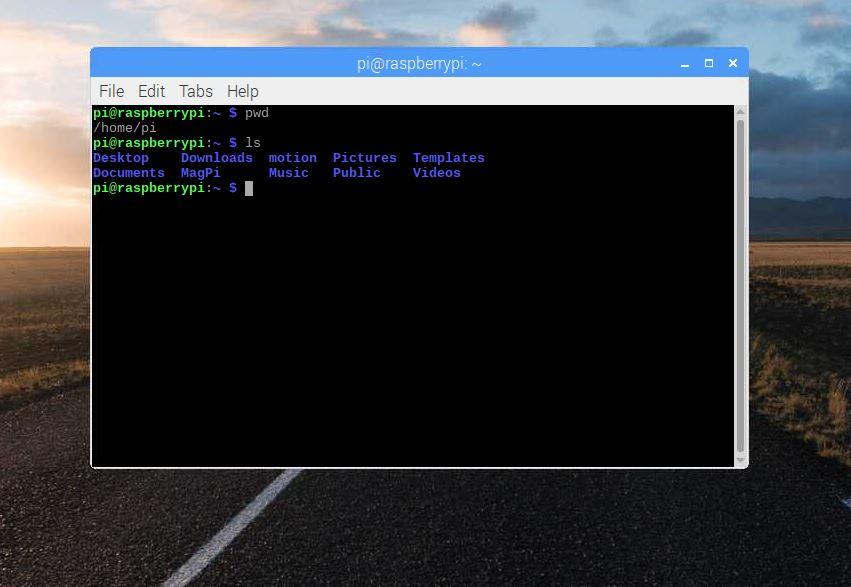
For starters you will issue some simple unix commands to:
- check which directory you are currently in, type : pwd (hit enter)
- check the contents of the current directory: ls (hit enter)
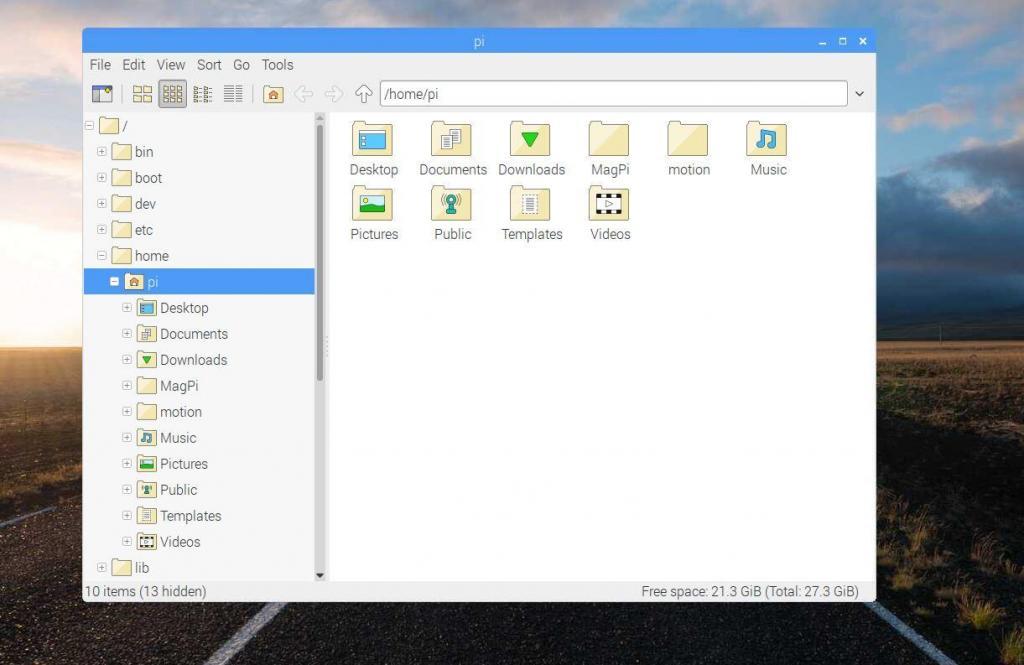
This is infact equivalent to simply browsing the directory using “File Manager” application which is similar to windows explorer.
File Manager is also by default on the upper left corner of your RaspberryPi desktop, it has a folder icon.
Now that we understand how “Terminal” works we will issue a few more complex commands:
>cd Pictures [this means change directory to Pictures]
>raspistill -o pic1.jpg [this takes picture using our camera module]
(More information on the raspistill command can be found here.)
You should see a small led light up on you camera and quickly go off, then you can use the “File Manager” to browse to Pictures and see your test image.
At this point our Part 1 is complete, we have successfully setup our RaspberryPi with camera and taken a test picture.
See the video tutorial below.
