Cheerio friends!
In this post we will finally configure the motion software that we installed in Part 2, using the motion.conf file.
You must be wondering: so where is this mysterious motion executable and where is our motion.conf configuration file?
When we compiled and installed motion from scratch (by downloading from github and building it) it was installed in the following directory in our Raspberry Pi by default:
/usr/local/bin
Intuitively speaking this is saying user installed programs are in users local executable bin.
And the configuration file is under:
/usr/local/etc/motion/
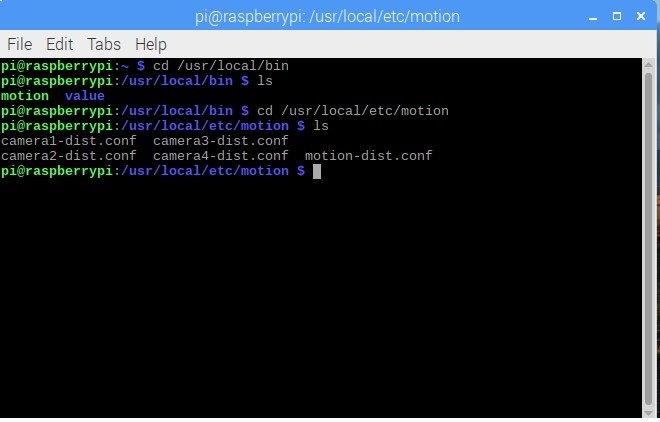
Issue the following commands to check this:
cd /usr/local/bin
ls

This yellow “motion” is an executable file. (sort of like an .exe)
Next, check the location of the config file:
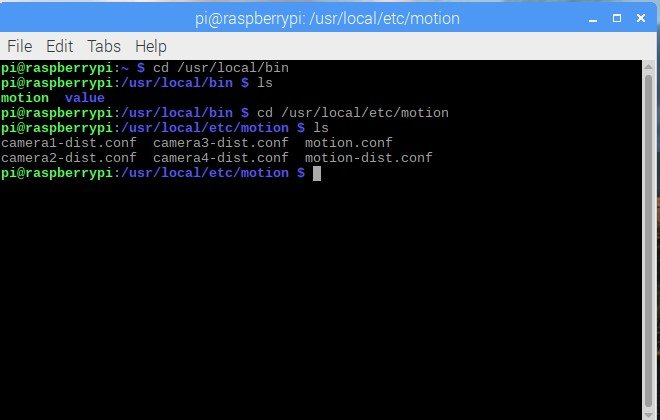
cd /usr/local/etc/motion
ls
Cool, now that we know where our files are its time to change the configuration file.
Let’s first make a copy of motion-dist.conf and call it motion.conf (this name is read by default by motion as the configuration file, without having to specify an explicit location).
sudo cp motion-dist.conf motion.conf
sudo leafpad motion.conf
The second command will start our favorite text editor leafpad and allow us to edit our configuration file. For reference my configuration file is uploaded on google drive: motion.conf (because github won’t allow me to do it)
Also you can watch my tutorial video below:
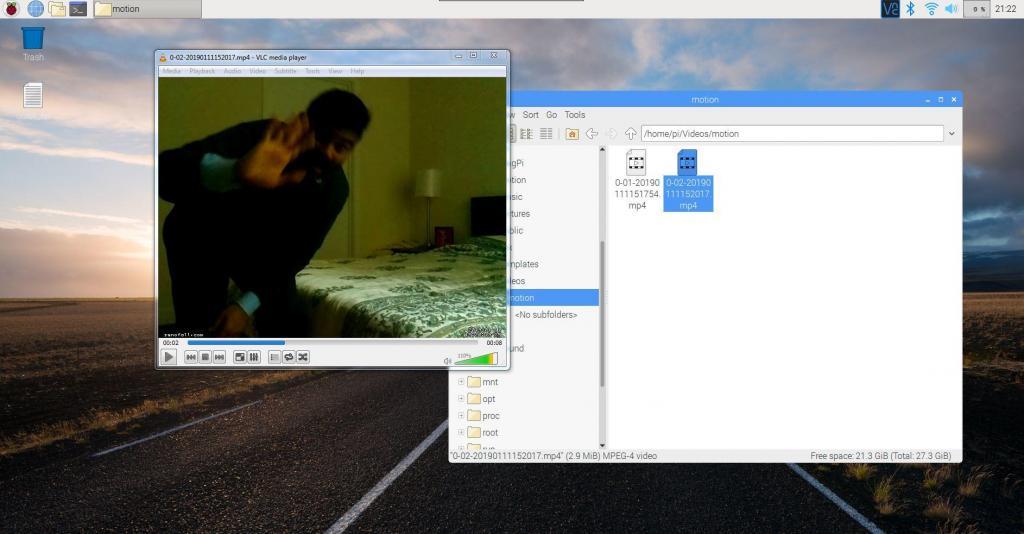
After everything is properly configured you can test out your motion sensing camera!
This is my test:
Ha, I had just come back from work that’s why I am formally dressed J
Note it only records videos, when an object moves in front of the camera and changes 15000 pixels, if you have set the screen resolution to 640×480 then you have a total of 307200 pixels in frame. So 15000 pixels means 4.88% of the area needs to change to trigger a motion event. Also note that you can change both the trigger threshold as well as the resolution in the configuration.
Isn’t this awesome? All that hard work over last few sessions has paid off and you can finally see some tangible results.
At this point we have successfully configured our raspberry pi to act as a motion sensing camera, we have a few more steps like sending us “alerts” on phone by text and emailing us the video, which I will cover next part, which will be the last part of the DIY motion sensing camera project.
But I have many more DIY projects lined up which I will keep posting about as I do them myself.
Thanks guys, see you in Part 4.

Pingback: DIY motion detection camera with Raspberry Pi – Part 4 - Zen Of All