IoT Community Garden Part 2: IoT Robot using Bluetooth communication between Raspberry Pi and Microbit, controlled over Telegram
First and foremost, I would like to thank our readers for the overwhelming response shown for my previous article regarding IoT Community Garden project. Second I would like to thank Barry Byford (ukbaz) for amazing Python bluezero library.
A day after I wrote the first IoT Community Garden article and posted it on hackster, I had about 100 new people join the telegram group t.me/iotgarden – to help monitor the garden, take ndvi pics and water the plants. For anyone who has not read the IoT community garden project, I would highly recommend you read that article first before reading this one.
But I soon realized that after the initial novelty of the IoT garden wore off, lot of the visitors began to leave – frankly there is not really much to do because of the embedded limits associated with preventing over watering, and frequent flipping of the lights – thus the most common activity left to do under user control with little or no limitations is taking pictures of the plants, and visitors would soon get bored of doing this as well.
So I decided to add a robot for entertainment purposes – this robot can be started and stopped remotely by any user and randomly runs for 1min.
On most days you can control this robot by joining our Telegram group: https://t.me/iotgarden
and type: /start
A button menu will pop up and you can click the button which says “StrtRobotRoy”. Wait for about 1min and a clip of the robot randomly roaming around in its garden box will be sent back on the chat group, this will be the video of the run that you kicked off. (sorry I don’t have a way to make this fully live yet) – It will be similar to the video below.
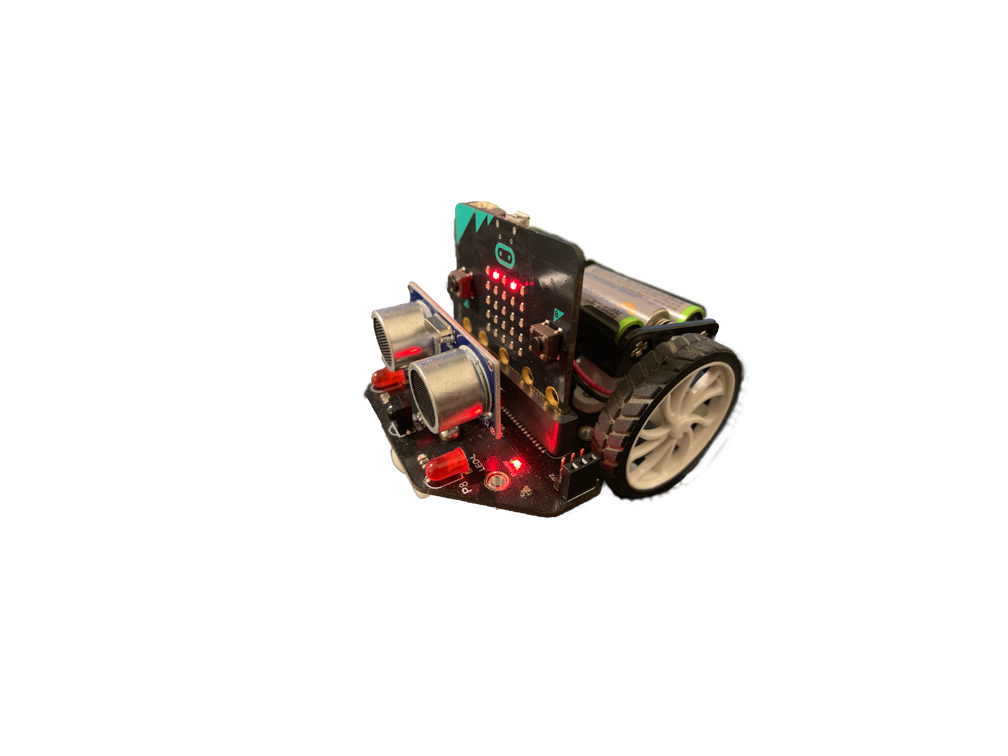
The Microbit Robot
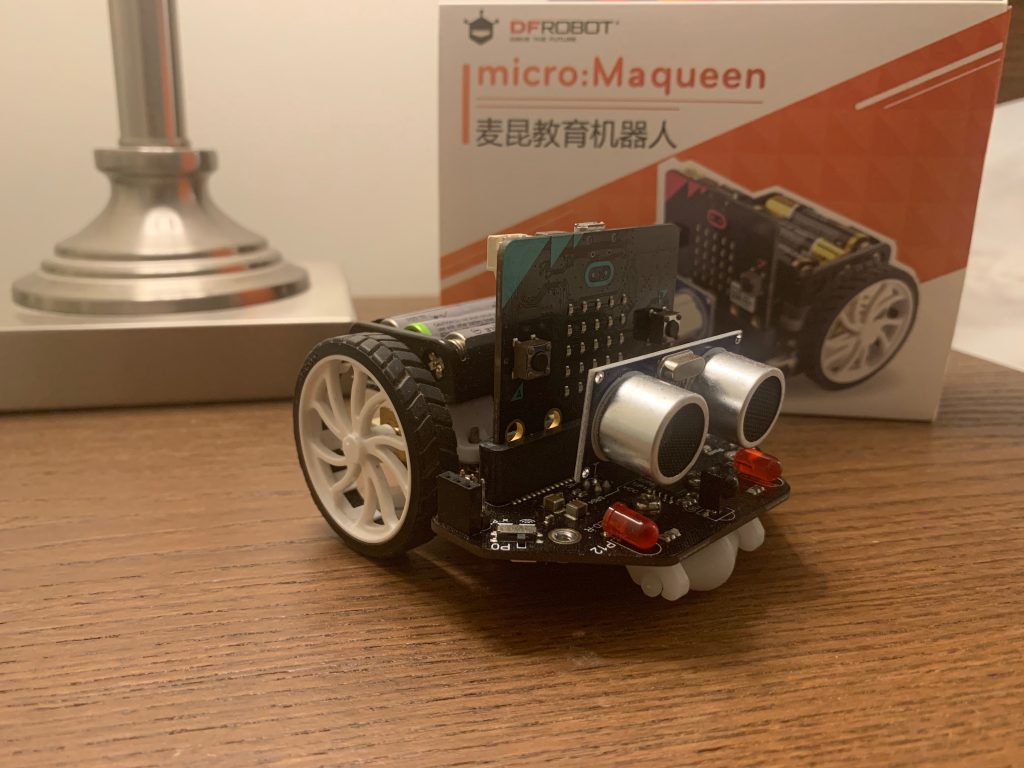
The robot I chose for my project is called micro:Maqueen created by DF Robot and uses a BBC Micro:Bit chip as controller. A few things I like about the Maqueen robot platform is the ease of assembly and ease of programming using Microsoft Makecode interface – which is a browser based block coding language developed to introduce kids and young adults to programming/logic. Another great thing I like about Maqueen is the price, it is fairly cheap and makes for a great gift, especially with the holidays being just around the corner. Click hereto see the latest price from the vendor or click the picture above.
Along with the above mentioned points the Maqueen is a very well made, sturdy robot – which I have been using for over 6months now, and that too mainly outside in the balcony – exposed to elements of nature and it is going strong. As I mentioned before Maqueen uses BBC micro:bit as a controller. MicroBit in itself is an amazing micro controller with on board bluetooth services, which we will be using for this project. Along with bluetooth microbit also has a bunch of other features like a bank of LEDs to display text or symbols, accelerometer, compass, light and temperature sensor, etc.
The compiled code that runs on the microbit (robot end) is written/designed using Microsoft makecode directly in the browser. It is amazing that you can call complex services such as bluetooth and event handlers using the make code interface. It did take me a while to understand how the bluetooth and event service handlers should be used so as to not cause a runtime error, but I finally figured it out.
All you have to do after you have arranged the logical boxes and told the robot what to do is download the hex file and flash it onto your microbit by connecting the microbit to your computer via USB and simply dragging and dropping the code into the folder. The code I am using is published below, feel free to experiment and change the code.
https://makecode.microbit.org/—codeembed#pub:_PiWWrm4qYW0E
The Bluetooth Interface with Raspberry Pi
To me the most interesting and challenging part of the project was the programming the bluetooth communication between Raspberry Pi and MicroBit. While doing my research I came across this amazing python library called blue zero written by written by Barry Byford which made life much easier for me. Barry and I exchanged few emails discussing code and finally he made an update to his library which ended up working perfectly for me. First install the python bluetooth library from GitHub, make sure you pull the event_service branch, which is currently experimental and not merged into the main branch. I have provided a direct link below for download:
https://github.com/ukBaz/python-bluezero/archive/event_service.zip
Make sure you install this library using “sudo” i.e. root access, because being able to use bluetooth requires root access.
Unzip the folder above into any directory on your Pi, browse into it (CD) and then type:
sudo python3 setup.py install
Next step will be to configure bluetooth interface on Raspberry Pi.
To start with the Bluetooth interface on Raspberry Pi, type the following commands:
sudo hciconfig hci0 up
systemctl status bluetooth
sudo systemctl start bluetooth
Read the pairing instructions here to pair with Microbit:
https://ukbaz.github.io/howto/ubit_workshop.html
Now you are pretty much done – if you follow the instructions above, you should be able to pair and connect Raspberry Pi to the Microbit.
You can now update the bluetooth adapter information, based on your bluetooth adapter (device) addresses, in the python code file below and test if your microbic responds.
Next you can download the latest version of IoT garden project code – which supports the robot from here and start playing around with it yourself.
The code
Finally what you all have been waiting for, my actual Community IoT Garden bot code.
There are four files in the zip below, keep them all in same folder while running:
- BluetoothMicrobitController.py – this is a test file which will help you test interface between Raspberry Pi and Microbit
- zenIoTBot_v3_1a.py – this is the main file which you will run, you will have to use your own telegram token and darksky key
- NDVI.py – this helps you do NDVI pics
- iotcontroller.py – this is where most of the logic is written.
To learn more about the code visit my previous article: IoT Community Garden.
To run the code on Raspberry Pi, put all three (2,3,4) files in one folder open terminal and type:
sudo python3 zenIoTBot_v3_1a.py &
Disclaimer: The python source code below is provided by Zen Of All LLC for free upon registration, the users (downloaders) of the code are free to modify it as they see fit. Zen Of All LLC assumes no legal responsibility or liability towards the code, its maintenance, usage or any modifications by the users (downloaders).
In English: I wrote this code very fast for testing my proof of concept idea – feel free to read it carefully and edit as per your own needs, I am not responsible if something breaks.
You will need to create a login for this website to download the code.
Please contact: contact@zenofall.com for any questions.
Hope you enjoyed the article and followed along, thanks for reading, don’t forget to subscribe to our mailing list for updates.


