Introduction:
The main software which we will be using for our project is called “Motion“, it does most of the heavy lifting such as video recording and motion detection.
We will be installing motion by downloading its source files from github and then compiling the software locally on our RaspberryPi.
Commands:
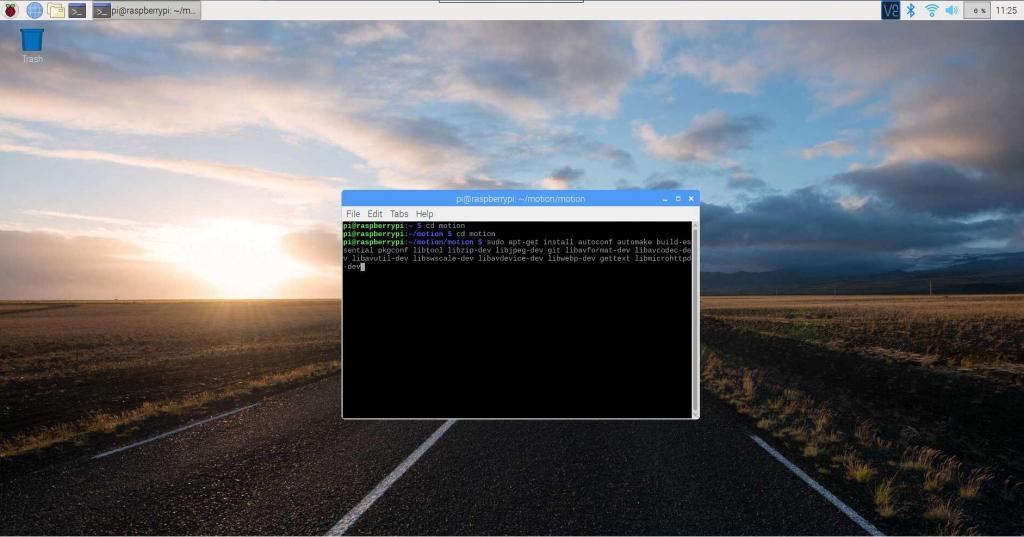
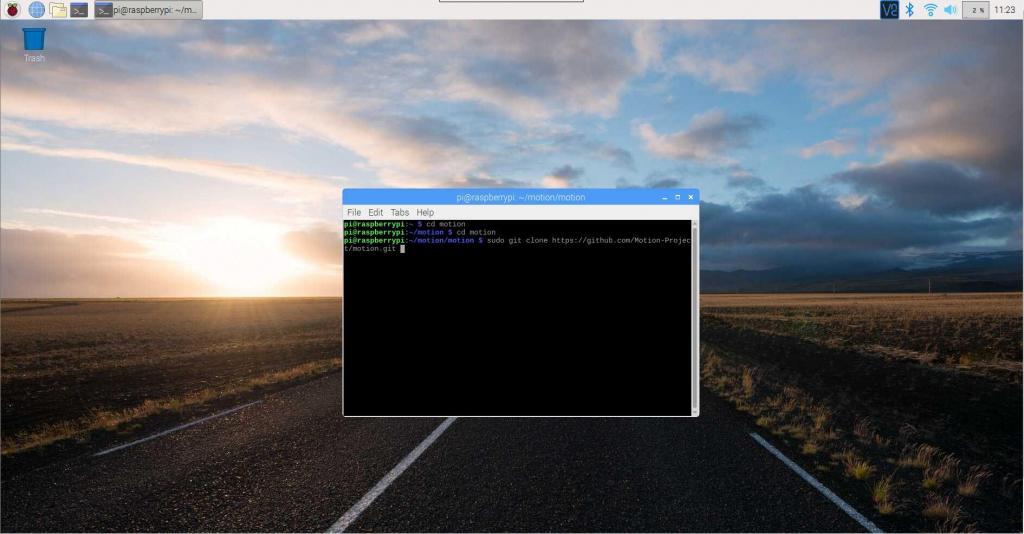
The commands we will use for installing motion are as below:
(you can also follow the video at end of the page)
sudo mkdir motion
sudo cd motion
sudo apt-get install autoconf automake build-essential pkgconf libtool libzip-dev libjpeg-dev git libavformat-dev libavcodec-dev libavutil-dev libswscale-dev libavdevice-dev libwebp-dev gettext libmicrohttpd-dev
git clone https://github.com/Motion-Project/motion.git
sudo cd motion
sudo autoreconf -fiv
sudo ./configure
sudo make
sudo make install


That is it, now you have installed motion successfully.
In the next installments of this series, we will talk about configuring motion and its basic usage, then we will configure google account and google voice so that we can text ourselves and finally we will write some small 10 line python scripts to email and text our recorded videos.
For detailed instructions on installing motion follow the tutorial video below:


Pingback: DIY motion detection camera with Raspberry Pi – Part 3 - Zen Of All